![]()
Introduction
In the building of gadgets, the most important factor is the design. After you have designed a gadget, carrying out the plan will not pose any difficulty. Try to be original and make sure that your design is practical. The best way is to make a small model first. Making camp furniture can add new dimensions to camp fun especially for youngsters who want to do something constructive. Use proper and suitable lashings to build the gadgets. Following up are some examples of gadgets, which you may modify or improve on.
![]()
1.
Broom
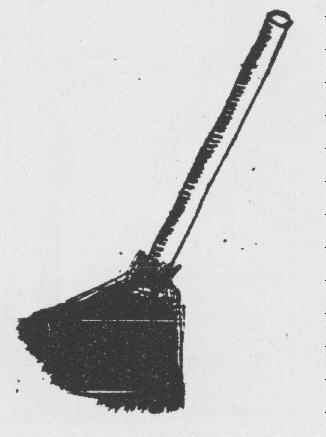
Materials required:
![]() Coconut leaves
Coconut leaves
![]() Twine
Twine
![]() Long pole
Long pole
Method:
Remove the coconut leaves from the main stem. Bundle them together and tie one end with a clove hitch. Sharpen one end of the pole and insert it into the bundle.
![]()
2. Bed
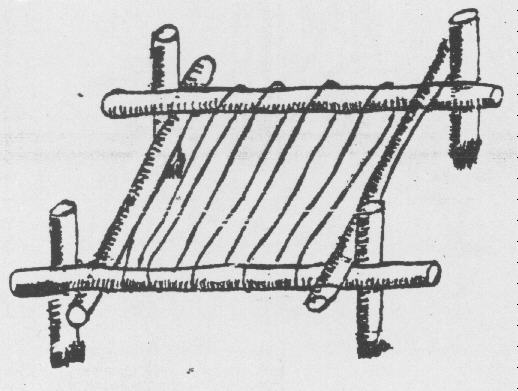
Materials required:
![]() 4 long poles
4 long poles
![]() 4 short poles
4 short poles
![]() Twine
Twine
Method:
Use square lashing to secure the 4 long poles so that a rectangle is formed as the base. Use square lashing to join a short pole to each of the 4 corners to form the supports. Tie the twine to the frame with a clove hitch, and wrap the twine across the frame. End off with a clove hitch.
![]()
3. Table & Bench
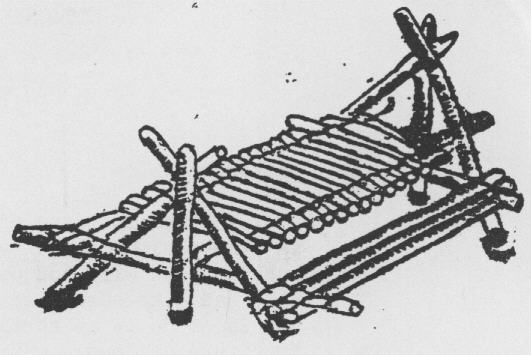
Materials required:
![]() 12 long poles
12 long poles
![]() 12 short poles
12 short poles
![]() Twine
Twine
Method:
Using the long poles, make 2 tripods. Tie 2 long poles lengthwise across the tripods. Using the long poles, construct the seats as in the drawing. Tie the table top by using shear lashing to lash the short poles together. Except for the tabletop, square lashings are used for all other joints.
![]()
4. Clothes Hanger
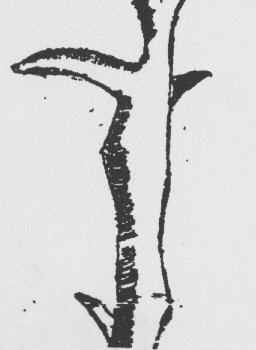
Materials required:
![]() Twine
Twine
![]() A branch
A branch
![]() A short branch with
hook
A short branch with
hook
Method:
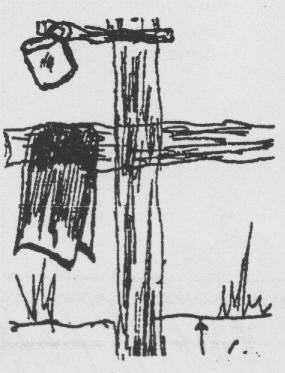
Use square lashing to tie the two branches together as in the diagram.
![]()
5. Mug Tree/Clothes Rack
Materials required:
![]() A branch
A branch
![]() A changkol
A changkol
Method:
Use square lashings to join the long and short poles as shown in the diagram. Plant both at least 6 cm under the ground. Use clove hitches to tie length of twine across the 2 short poles lying horizontally.
![]()
6. Incinerator
Materials required:
![]() Empty oil drum
Empty oil drum
![]() A large nail
A large nail
![]() Bricks
Bricks
Method:
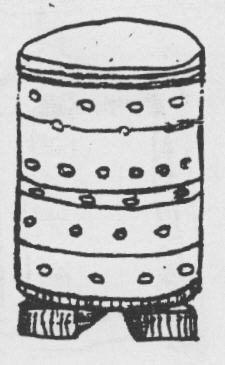
Place the empty oil drum on top of the bricks. Use the hammer and nail to make ventilation holes along the sides of the drum. Make sure that the drum is thoroughly cleaned of oil.
![]()
|
|